
5 Steps to Organize Your Pantry with Glass Mason Jars
Hey there, pantry organizers! If you've ever opened your pantry and felt like you're playing hide and seek with your ingredients, this guide is your ultimate treasure map. We're diving into the world of organization, armed with the superhero of storage solutions: glass mason jars. In the upcoming steps, we'll break down the process into manageable chunks. We'll guide you through choosing the right jars, giving your items cute labels, and arranging everything for maximum accessibility. It's like a puzzle, but the pieces actually fit!
Step 1: Clearing Out and Assessing
Imagine your pantry as a closet that needs a serious spring cleaning. Time to clear out the expired goods, mystery cans, and those "what was I thinking?" snacks. Take a closer look at what survived the cut – spices, sauces, snacks galore. Spot what's running low and what's overflowing. It's like taking inventory of your pantry kingdom. Don your detective hat and explore those pantry nooks and crannies. You might uncover forgotten treasures hidden behind the cereal boxes or pushed to the back. It's a bit like a pantry treasure hunt!
Step 2: Selecting the Right glass mason jars
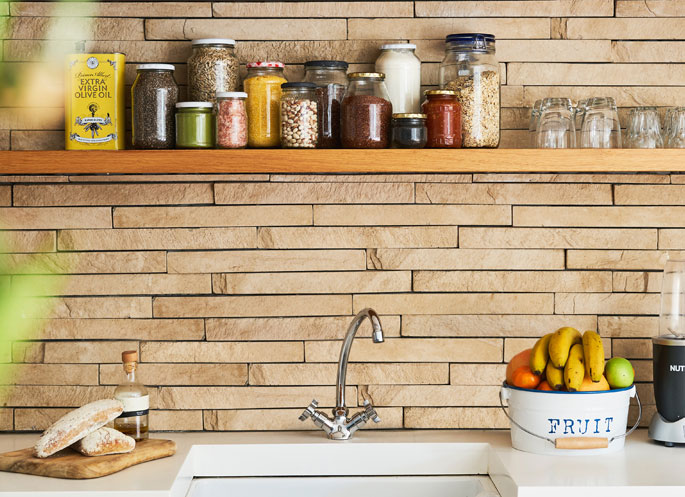
Now that you've cleared the clutter, it's time to find the perfect homes for your pantry pals. Say hello to the stars of the show: glass mason jars. These jars are like the VIP section for your ingredients – they keep things visible, organized, and oh-so-chic. When it comes to picking the right jars, think about what you'll be stashing inside. Spices? Snacks? Pasta? Choose sizes that fit the bill. Look for airtight lids to keep things fresh and flavors locked in. Plus, the transparency of glass means you'll spot your ingredients faster than a superhero in a cape.
Step 3: Labeling and Categorizing
First, think categories. Spices? Snacks? Baking goodies? Divide and conquer! Labeling helps you find stuff without a treasure map. Use stickers, chalk markers, or even washi tape – just make sure they're easy to read and won't fade. Pro tip: get creative! Give each category a fun name or add a touch of art. It's like jazzing up your pantry shelves with a splash of style.
Step 4: Filling and Arranging
It's time to fill those glass mason jars and create your pantry masterpiece! Think of it like arranging your ingredients for a culinary symphony. Start by filling your jars with your categorized goodies. Pour in those pasta shapes, sprinkle in those spices, and stack those snacks. Now, let's talk arranging. Think about your pantry like a puzzle – items that you use often should be front and center. The less-frequent players can chill in the back rows. It's all about easy access and visual harmony. Mix and match sizes, play with heights, and embrace the satisfying sight of your jars lined up like soldiers ready for action.
Step 5: Maintaining and Enjoying the Organized Pantry
Here's the deal: once a week, take a peek at your jar lineup. See what's running low and what needs a restock. It's like giving your pantry a little checkup to keep things running smoothly. When you're cooking up a storm, enjoy the ease of grabbing what you need without a scavenger hunt. You've created a pantry that's not only practical but also a feast for the eyes. And don't forget to give your glass mason jars a quick wipe now and then.
Conclusion
Congratulations on conquering the art of pantry organization with glass mason jars! Your pantry is now a symphony of order and style. Say goodbye to rummaging and hello to a streamlined cooking experience. Enjoy the convenience, revel in the visual delight, and savor the success of a well-organized culinary haven.
Next page: Glass Water Bottle vs. Stainless Steel: Which is Better?