
How to Fill and Seal Glass Syrup Bottles
Introduction
Syrup lovers, rejoice! There's something immensely satisfying about pouring that perfect drizzle of syrup over pancakes, waffles, or ice cream. But have you ever considered making your syrup and storing it in a charming glass bottle? It not only adds a touch of elegance to your breakfast table but also keeps your homemade syrup fresh for longer. In this blog, we'll guide you through the process of filling and sealing glass syrup bottles like a pro. In this first part, we'll cover what you'll need and the steps for preparing your syrup and filling the bottles.
What You'll Need
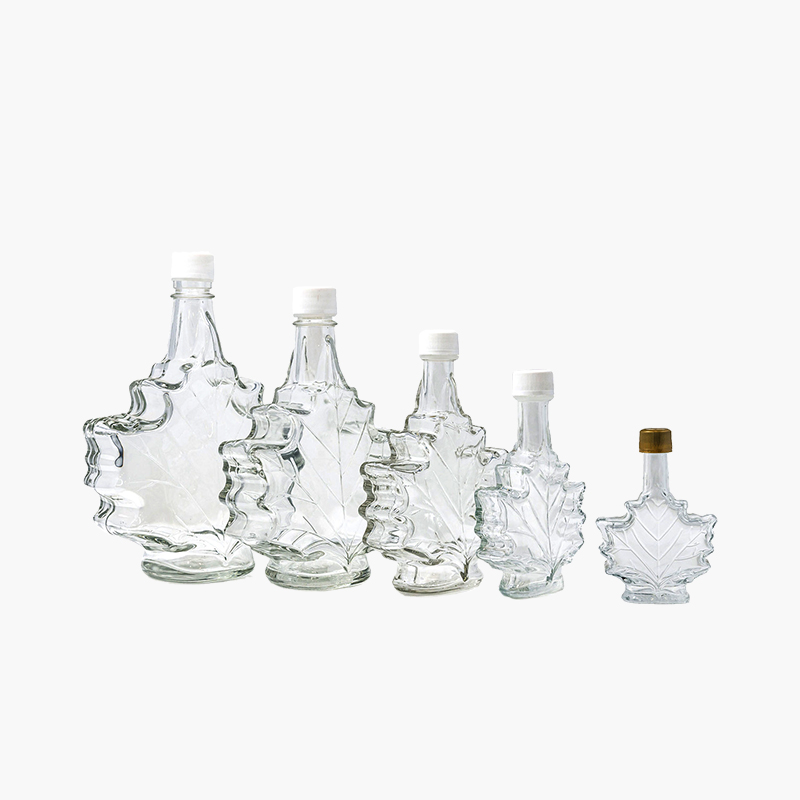
Before diving into the exciting world of syrup bottle filling and sealing, let's make sure you have everything you need:1.Glass Syrup Bottles: These are available in various sizes, but for beginners, we recommend using smaller bottles, as they are easier to handle.
2.Syrup: You can choose your favorite type, be it maple, fruit, or flavored syrup. Homemade syrups are also a fantastic option.
3.Funnel: A funnel will help you pour the syrup neatly into the bottles without creating a sticky mess.
4.Saucepan: You'll need this to heat your syrup, especially if it's homemade or has been stored in the refrigerator.
5.Stove or Microwave: To gently warm the syrup before pouring it into the bottles.
6.Cork Stoppers or Screw Caps: Depending on your bottle choice, you'll need either cork stoppers or screw caps to seal the bottles tightly.
7.Clean Towels or Cloths: These come in handy for wiping off any spilled syrup and keeping everything clean.
Now that you've gathered your supplies, let's move on to the fun part.
Step-by-Step Guide
Note: Always follow safety precautions when working with hot liquids, and never leave the stove or microwave unattended while heating the syrup.
A. Preparing Your Syrup
1.Selecting the Syrup: The first step is choosing your syrup. You can opt for store-bought varieties or get creative with homemade syrup recipes. Whether it's classic maple, fruity goodness, or something unique, make sure it's at its best quality.
2.Ensuring the Right Temperature: If your syrup has been stored in the refrigerator, it may have thickened. To make it easier to pour, gently heat it on the stove or in the microwave. Use low heat or short bursts in the microwave to prevent overheating. Warm the syrup until it reaches a slightly runny consistency, but avoid boiling it.
B. Filling the Bottles
1.Using a Funnel: Place the funnel securely in the bottle's neck. This step is crucial to prevent spills and sticky messes.
2.Leaving Headroom: When pouring your syrup into the bottle, be sure to leave some space at the top. This "headroom" prevents the syrup from overflowing when you seal the bottle. Aim for leaving about 1/4 to 1/2 inch of space at the top, depending on the bottle size.
C. Sealing Techniques
Now that your glass syrup bottles are filled with delicious, warm syrup, it's time to seal them to keep that goodness fresh. The sealing method depends on the type of bottles you've chosen, whether cork stoppers or screw caps.
For Cork Stoppers:
1.Inspect the Corks: Ensure that the cork stoppers are clean and free from any debris.
2.Secure the Corks: Gently push the cork stopper into the bottle's neck. Make sure it fits snugly but not too tight. You want to create a good seal without damaging the bottle or cork.
3.Optional Wax Seal (Advanced): For an extra layer of protection and an appealing finish, you can consider sealing the cork with wax. Melt some wax (food-grade paraffin wax or sealing wax) and carefully pour it over the cork's top. Let it cool and harden to create a secure seal.
For Screw Caps:
1.Clean the Threads: Ensure that both the bottle's threads and the inside of the cap are clean and free from syrup residue.
2.Screw Tightly: Place the screw cap on the bottle's neck and twist it until it's securely tightened. Be cautious not to overtighten, as this could damage the bottle or cap.
Tips for Success
1.Label Your Bottles: Don't forget to label your syrup bottles with the type of syrup and the date it was prepared. This helps you keep track of freshness and flavors.
2.Keep Bottles Upright: Store your syrup bottles upright to prevent leakage and to make it easier to pour when needed.
3.Refrigeration: While sealed syrup bottles can be stored at room temperature for short periods, it's generally recommended to keep them in the refrigerator for longer shelf life.
Common Mistakes to Avoid
Overheating: Be cautious when warming the syrup, as overheating can cause it to become too thin. Warm it slowly and in short intervals if using the microwave.
Filling to the Brim: Avoid filling the bottles to the very top. Leaving some headspace is crucial to prevent leakage when sealing.
Safety Precautions
Always exercise caution when working with hot liquids. Use oven mitts or gloves to handle hot bottles, syrup, or any equipment that has come into contact with heat.
Conclusion
Congratulations! You've successfully prepared and filled your glass syrup bottles. In this first part of our series, you've learned the essential steps for selecting syrup, warming it, and filling the bottles. Part 2 will dive into sealing techniques and provide more expert tips to ensure your syrup stays fresh and flavorful.
With your homemade or favorite syrup safely stored in these charming glass bottles, you're ready to impress at breakfast or add a touch of sweetness to your culinary creations. Stay tuned for the next installment, where we'll seal the deal on syrup bottle mastery! Stay sweet and enjoy your syrup adventures!
Next page: 6 Different Goblets Must Be Known